Pico 4 Enterprise User Guide
With the Virtuario™ service, you received Pico 4 Enterprise VR glasses and accessories. Virtuario™ is pre-installed on the VR glasses, allowing you to start training immediately.
Setup in one minute
Read instructions for streaming the VR glasses image on the Pico 4 Enterprise Streaming page.
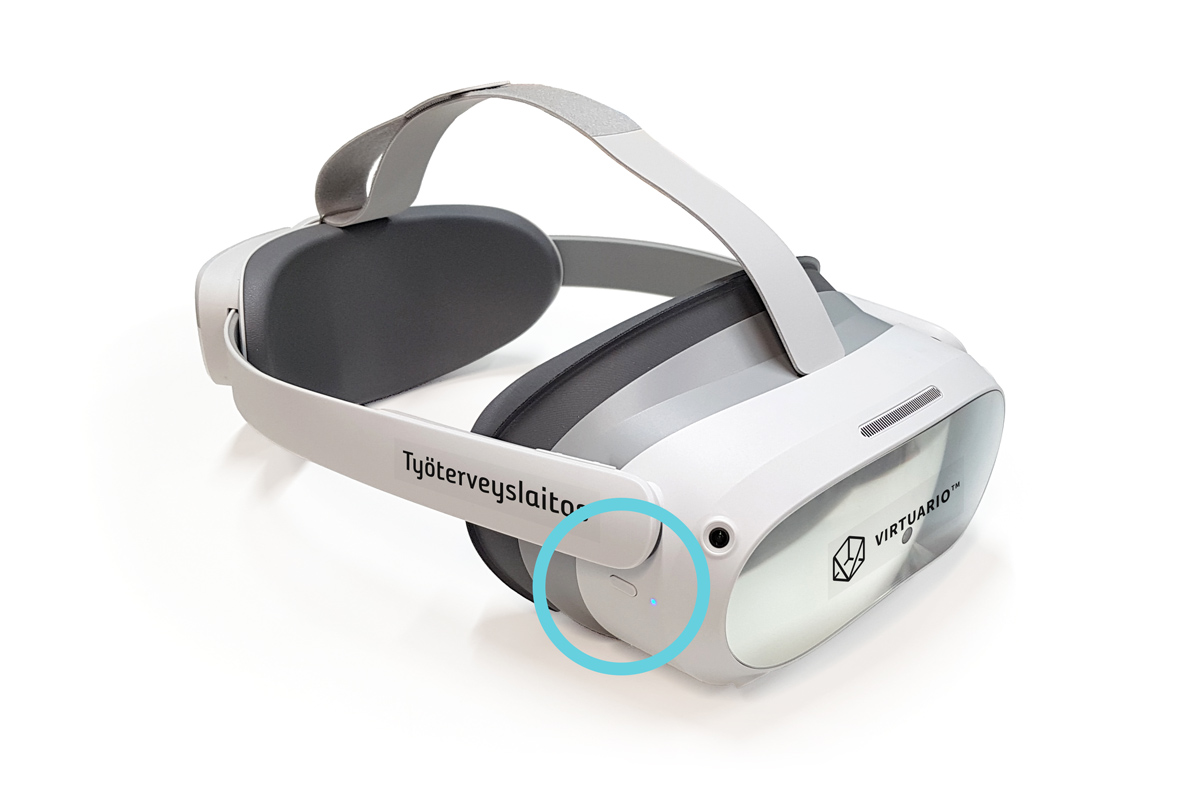
- Turn on the VR headset by pressing and holding the power button on top of the device until the light next to it turns on.
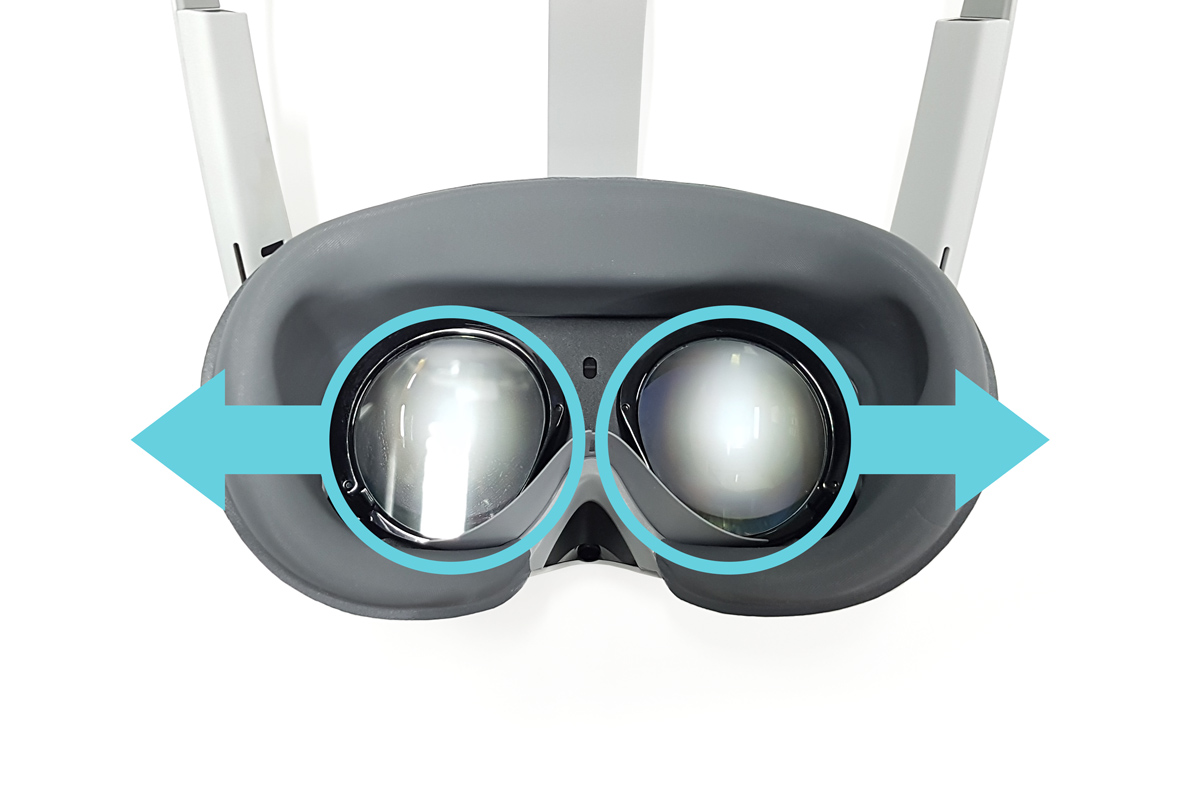
- Place the headset on your face and adjust it until the image is clear and it fits comfortably. Tighten it using the dial at the back of your head. Adjust the lenses by gently shifting them sideways. Most glasses fit inside the headset, allowing you to use Virtuario™ with your own glasses. Hold the controllers, ensuring your index finger is on the trigger at the front. If the controller doesn't start automatically (laser pointer isn't visible in VR), press the Home button once briefly.

Wait for the device to start. The Pico logo appears first, then the screen turns black before Virtuario™ opens automatically.
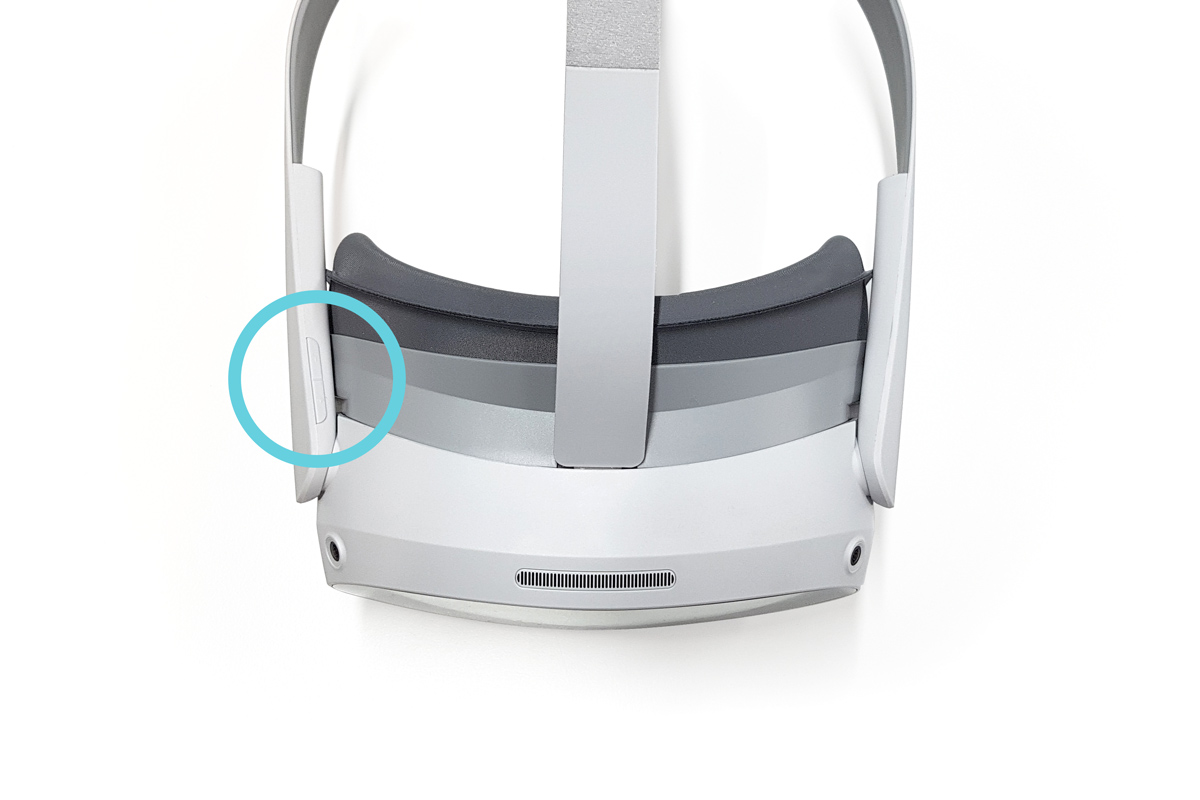
Adjust the volume with the control at the bottom right of the device. If using the VR headset in a new space for the first time, it will guide you through setting up the play area before starting Virtuario™ exercises.
The VR headset battery lasts about 2.5 hours of continuous use. Charge the device only with the included charger. The carrying case contains a USB cable and power adapter.

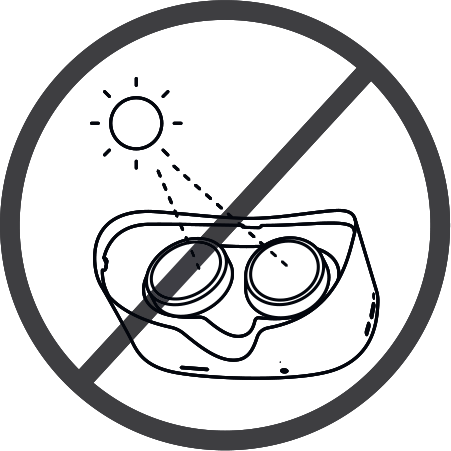
Note that the device should not be used outdoors or in direct sunlight. Ensure the area is well-lit for motion tracking to work effectively.
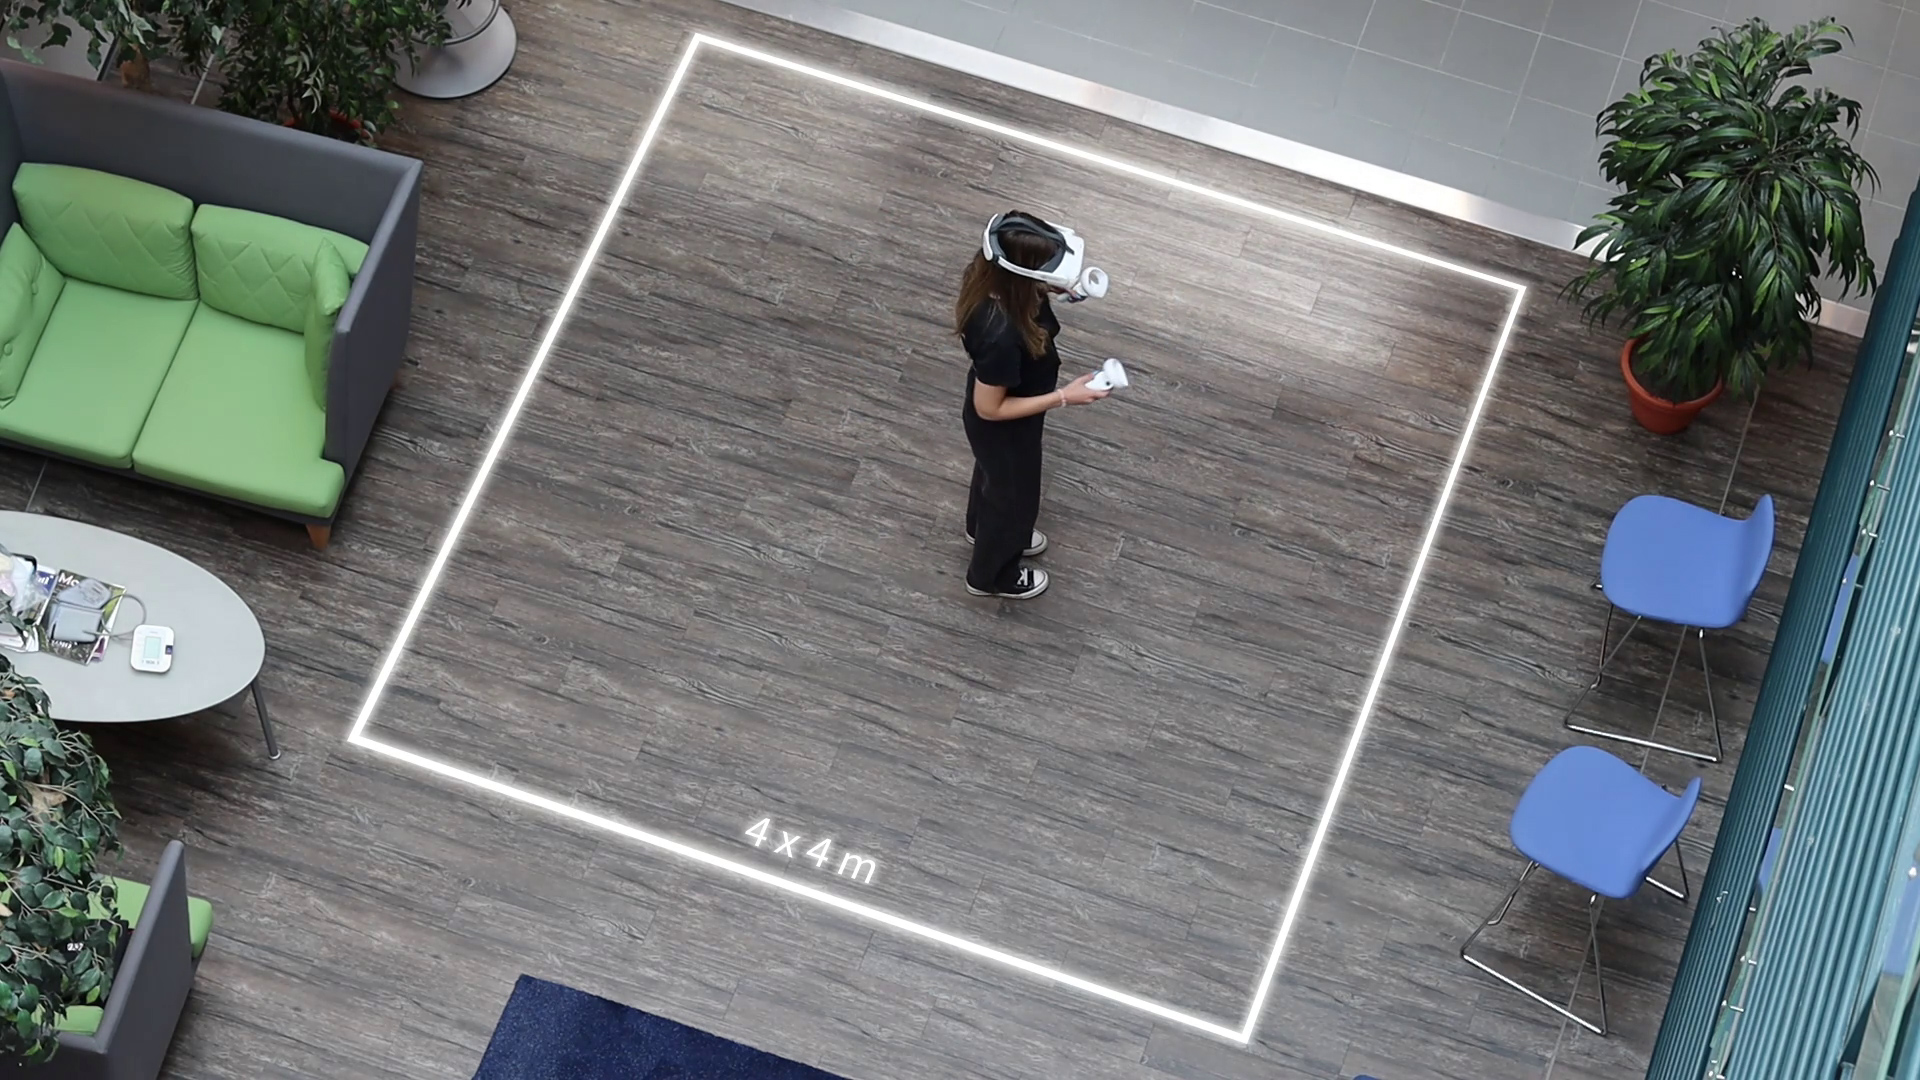
Setting up the play area requires the VR headset and the right-hand controller.
- Clear an indoor space of at least 4×4 meters from furniture for the play area. The person using the VR should be able to move safely within this area without seeing the floor or surroundings. You only need to define the play area once for each space where the device is used. Note that:
- Shiny surfaces like mirrors, windows, or glossy floors may interfere with the device's tracking.
- There should not be an unprotected external window nearby, as sunlight (or strong infrared light) can disrupt tracking and potentially damage the device's screens.
- If you use the area repeatedly, consider marking its boundaries with tape on the floor to alert others to avoid walking through it.
- When the device detects it is in a new space, it will guide you through setting up a new play area: When the Select Play Boundary window opens, aim the controller's laser at the button and press the trigger.
- The device will automatically detect the play area's floor level, but you can adjust it by lightly touching the floor with the front of the controller and pressing the trigger. Once satisfied with the floor level, select Next.
- Draw a rectangular play area of at least 4×4 meters by aiming the laser and holding down the trigger — as if spray painting. When satisfied with the drawn play area, select . If you want to redraw the play area, select .
- Select and the Virtuario™ app will launch automatically to guide you forward.
If there have been changes in the area, such as added or removed furniture, redraw the play area to ensure proper tracking.
- The device automatically recognizes previously created play areas when you are in the same space. If you put on the VR headset outside an existing play area, first walk into the play area (visible as light blue lines in the VR headset).
- Aim the controller's laser at and press the trigger. The Virtuario™ app will start automatically and guide you onward.
Click on the problem description title to learn how to solve it.
Many occasional issues with the device are resolved by simply restarting it:
- Turn off the VR headset by pressing and holding the recessed power button on the top until the light next to it flashes a few times. Wait until the light goes off.
- Restart the device by pressing the power button again until the light turns on.
- The Virtuario™ app will launch automatically.
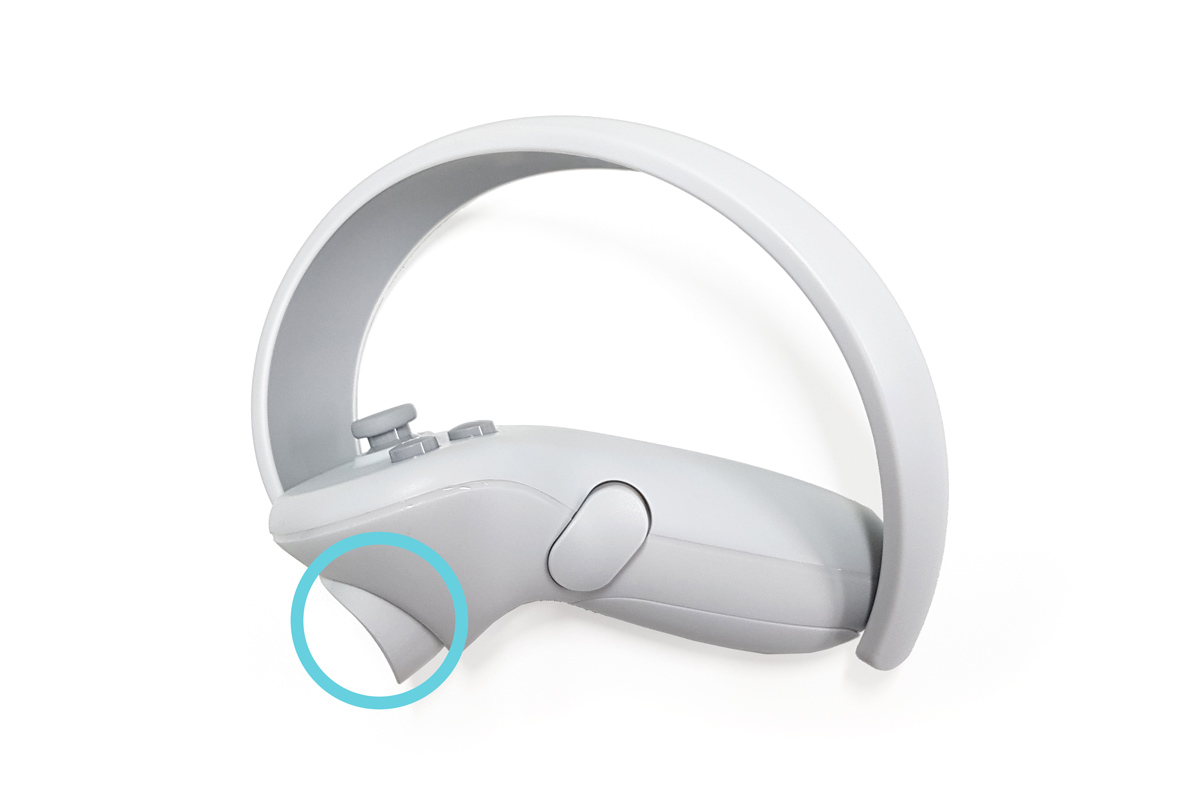
Check the buttons on the motion controller. The right-hand controller has buttons B, A, camera button and Home button. The left-hand controller has buttons Y, X, menu button and Red ring button.


Ensure the controller is on by briefly pressing the recessed Home button on its top. If this doesn't activate the controller, the batteries are likely depleted. Batteries usually last 50–80 hours of usage.
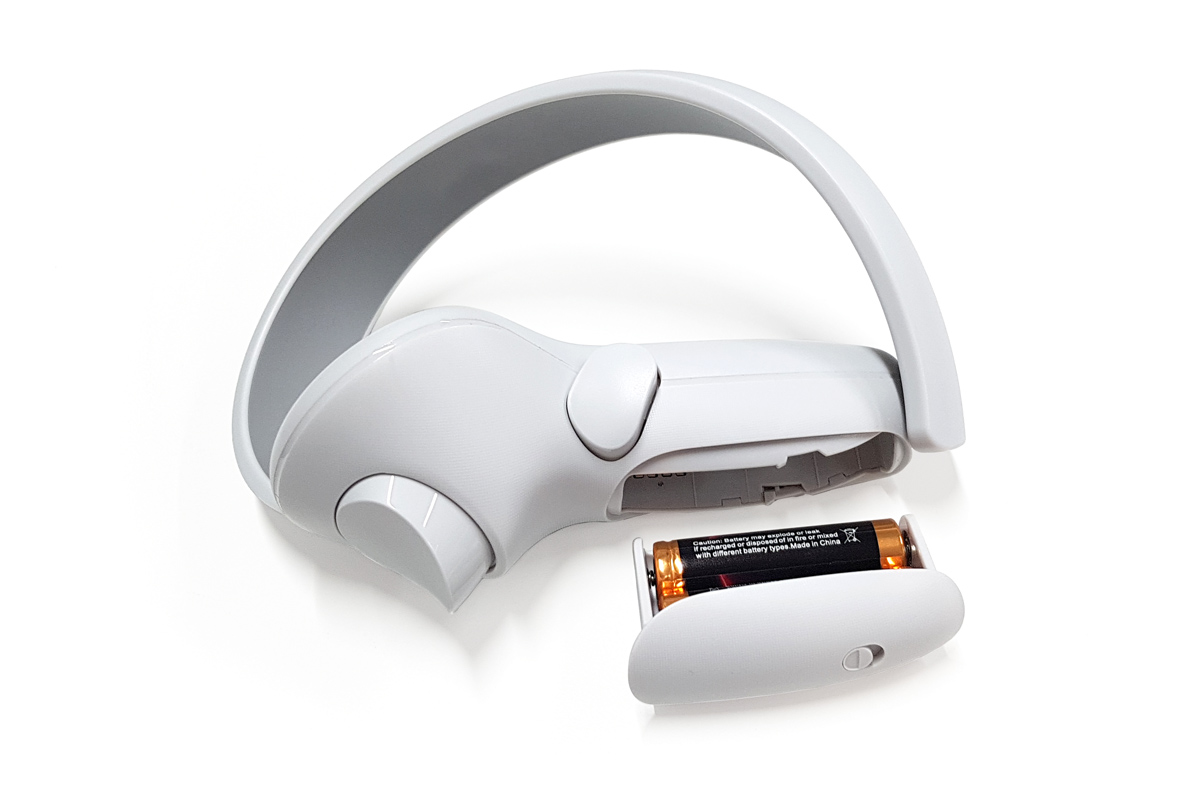
Battery Replacement
Remove the battery cover by sliding the small button on the side of the controller backward (i.e., "down" or towards you) and pull out the cover sideways. Replace both AA batteries simultaneously. Slide the cover back onto the controller until it clicks into place.
Always draw the play area as rectangular as possible and at least 4×4 meters in size. Virtuario™ automatically adjusts the play area after drawing; its location cannot be fine-tuned manually.
To return to the content library, press and hold the A and B buttons on the right motion controller simultaneously for three seconds.
Some exercises place the checklist on the left-hand controller. Ensure the left controller is on by briefly pressing the recessed Home button on its top. You can point and select objects in environments with either controller.
Clean the device's lenses with circular motions using a damp, alcohol-free cleaning wipe for glasses or screens. Never use alcohol-based cleaners on VR lenses, as they can damage the device's plastic and lens surface!
If the image remains unclear, adjust the headset on your face until the lenses align properly with your eyes and the image sharpens. Tighten the headband using the dial at the back of your head for a secure fit.
You can also adjust the lens distance by gently sliding them sideways towards or away from each other.
Close the update window by pressing the round button below the window.
Restart the device by following the previous instructions.
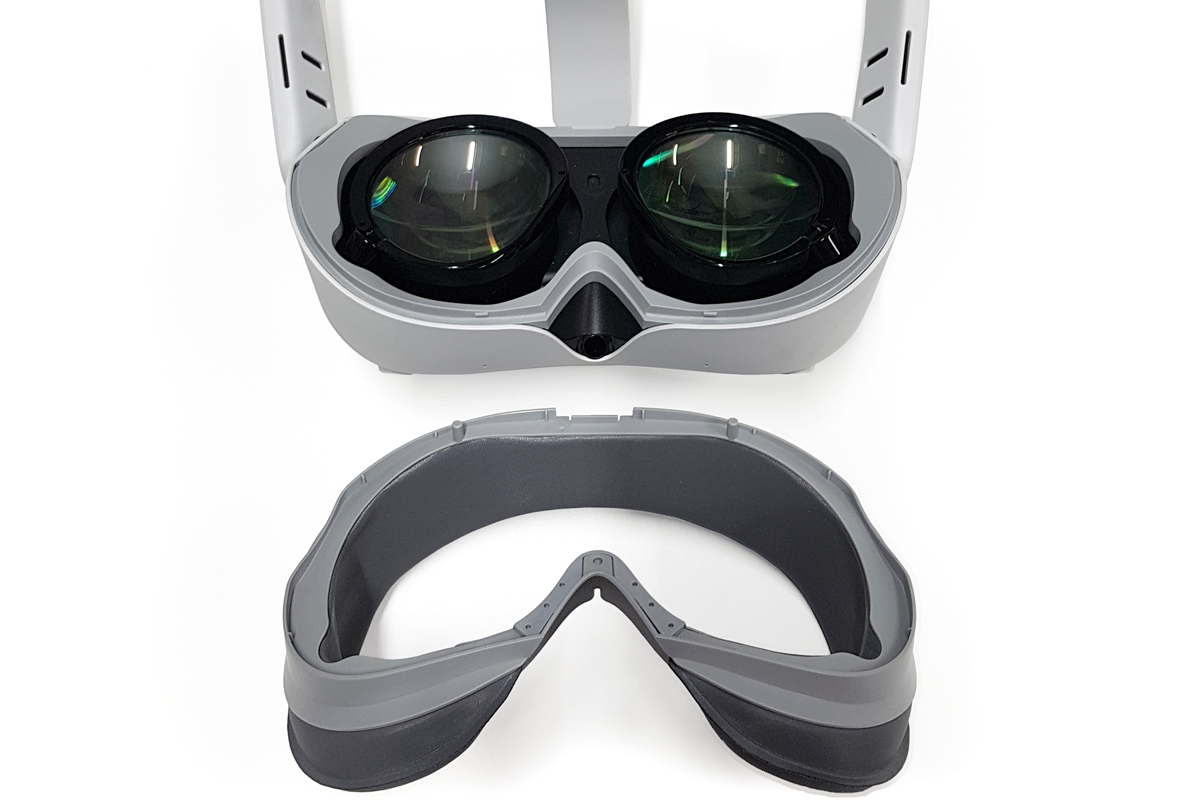
Attach the face cushion by placing it on the lens side of the VR headset until the magnets snap it into place. To remove the cushion, pull it evenly away from the device.
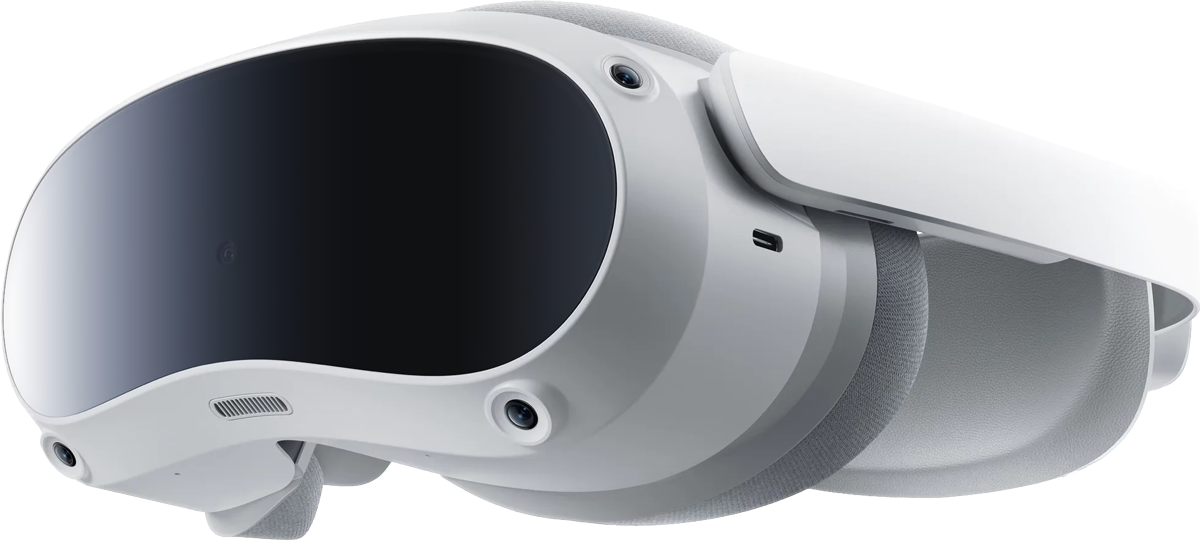
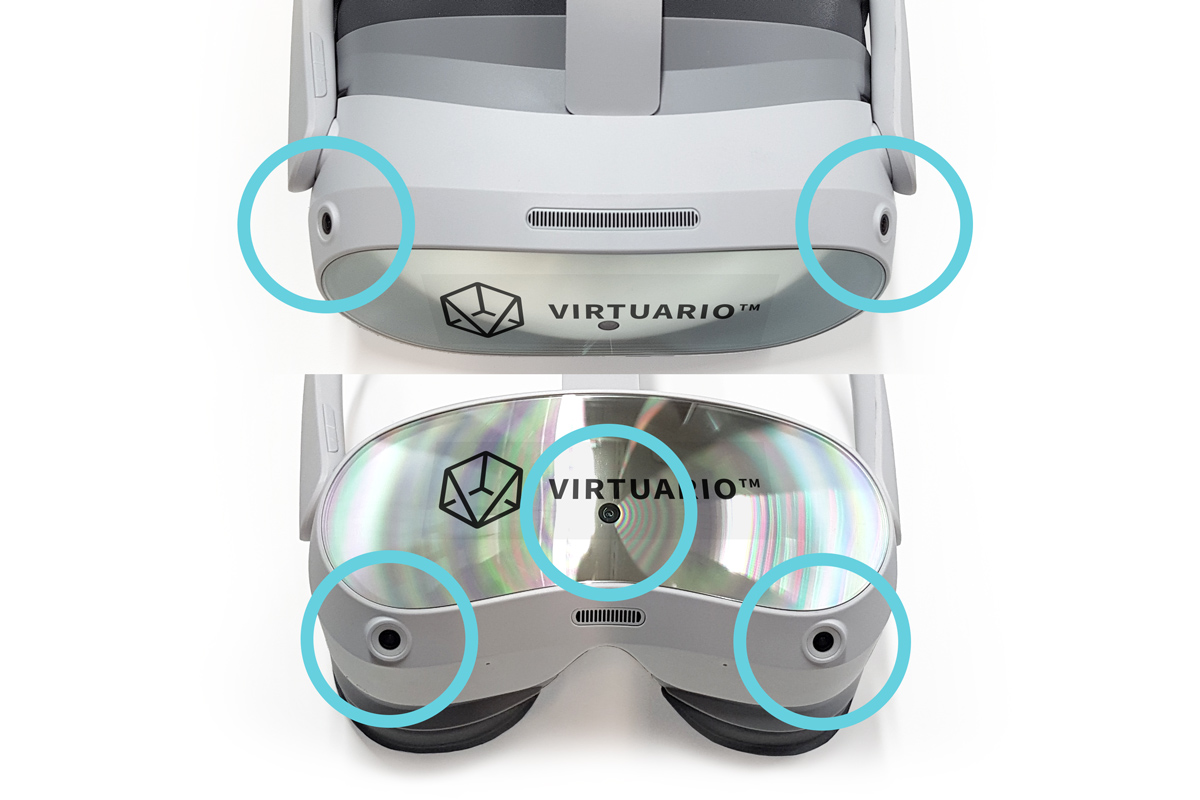
Tracking issues occur because you're too close to a wall or large uniform surface. Move around the play area with the device on and turn it in different directions to help the VR headset cameras map the environment better. If the error persists, clean the camera lenses of the VR headset. There are four lenses located at the corners of the device's front.
If the problem still isn't solved, you can redraw the play area or restart the device by following the previous instructions.
Restart the device by following the previous instructions.
Restart the device by following the previous instructions.
If tracking still doesn't work, clean the camera lenses on the VR headset. There are five lenses located at the corners and directly in front of the device. If problems persist, contact technical support via email at virtuario@ttl.fi
Increase the lighting in the space so the device can track movements better. However, be aware that direct sunlight can interfere with tracking and damage the device's screen.
Clean the device's lenses of dirt with circular motions using a damp, alcohol-free cleaning wipe for glasses or screens and restart the device by following previous instructions.
If the spots don't disappear, the screen may have been damaged by direct sunlight. Please contact virtuario@ttl.fi.
If you have further questions, contact us via email at virtuario@ttl.fi.